

Short Answer
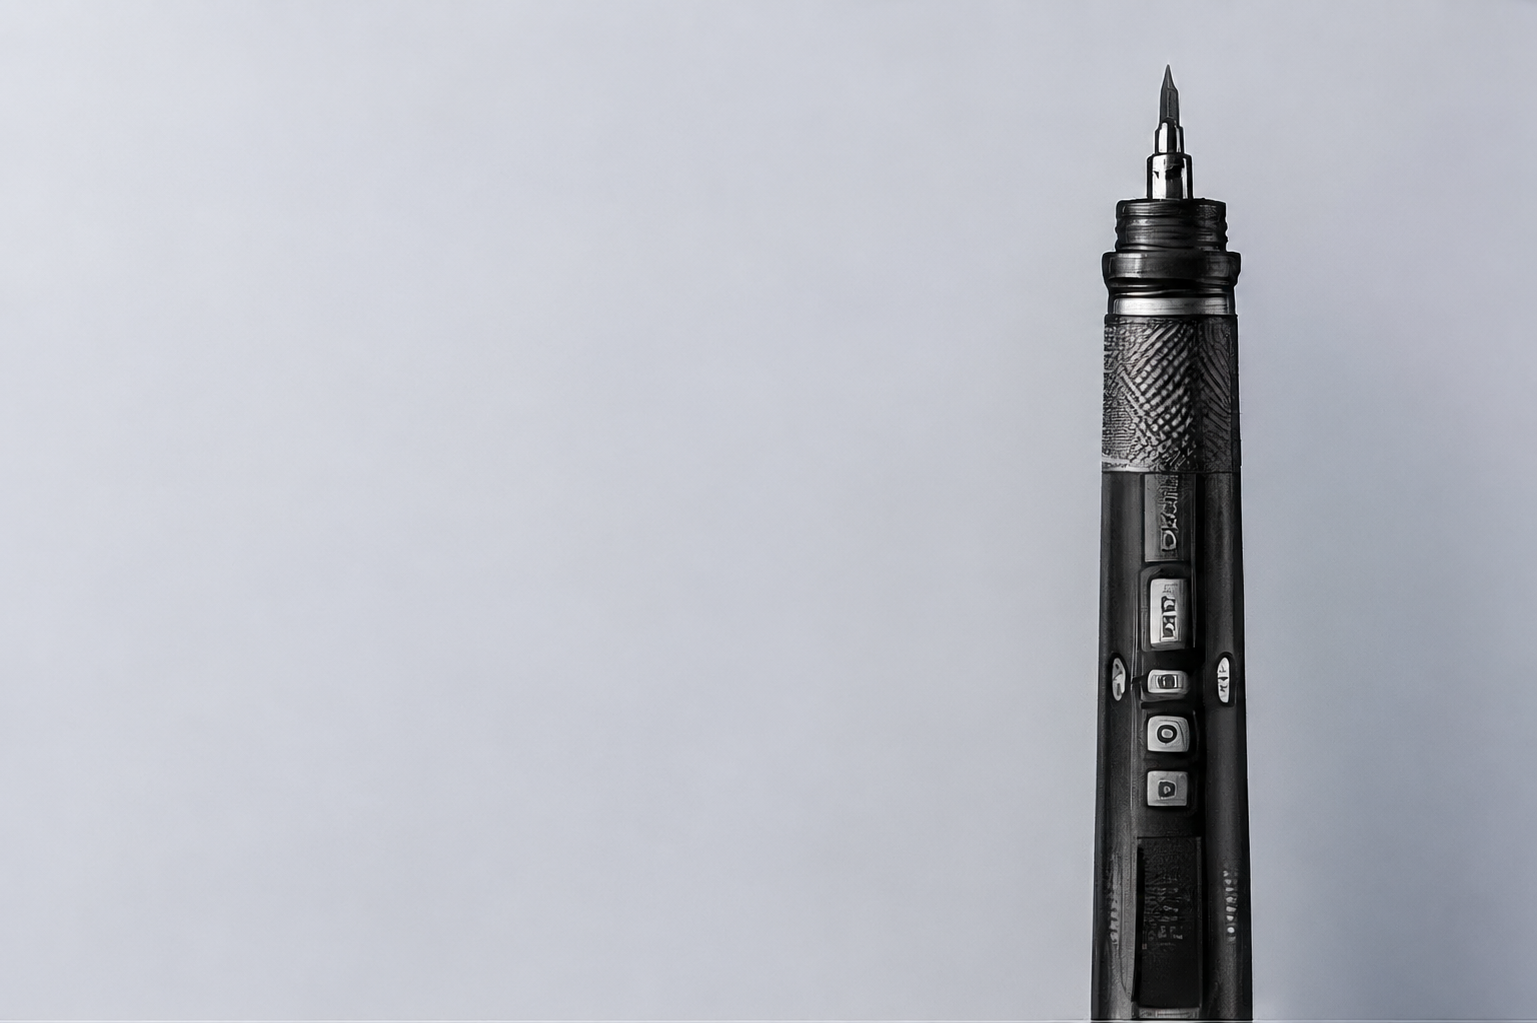
To remove 3D print supports cleanly, start by separating large support branches first, then work slowly around the contact points where the support touches the model. Use flush cutters for bulk removal, a hobby knife or precision cutter for small marks, and sanding tools for final smoothing. The most important rule is to avoid twisting or tearing supports away from the print. For tight corners, delicate edges, and small post-processing details, SonicMax Slice 10 can be used as a precision cutting tool that complements your existing cleanup workflow.
Why Support Removal Is Tricky
Support removal looks simple, but it is one of the easiest steps to damage a finished 3D print. The problem is not only the support material itself. It is the small contact points between the support and the printed part.
If you pull too hard, you can leave white stress marks, gouges, broken corners, or uneven surfaces. If you cut too close, you may scar the model. If you sand too early, you may flatten small details before the support marks are fully trimmed.
Clean support removal usually works best as a controlled workflow instead of one aggressive cut. The goal is not to remove every support as quickly as possible. The goal is to remove force from the process, keep the part stable, and reduce the number of visible marks left behind.
Start With the Right Mindset: Separate Force From Precision
Most support removal problems happen when one tool is asked to do every job. Large cutters are good at removing bulk material, but they can be too aggressive around small details. A hobby knife can handle small areas, but it depends heavily on hand pressure and blade angle. Sanding tools can improve the surface, but they cannot fix a gouge that was cut too deep.
A better workflow separates the job into stages:
- Bulk removal: remove the large support structure.
- Contact-point trimming: reduce the small marks left on the model.
- Surface refinement: smooth, file, sand, prime, or paint as needed.
- Final inspection: check the part under side lighting before calling it done.
SonicMax Slice 10 fits into the contact-point trimming stage. It should be viewed as a precision tool for controlled cuts, not as a replacement for every tool on the bench.
Recommended Tools for 3D Print Support Removal
The best setup depends on the material, support settings, and model geometry, but most makers benefit from keeping a small set of tools nearby.
| Tool | Best Use | Watch Out For |
|---|---|---|
| Flush cutters | Removing larger support branches and easy-to-reach support sections. | Can crush small details or leave stress marks if twisted. |
| Hobby knife | Basic trimming, scraping, and light cleanup on accessible surfaces. | Requires hand pressure and can slip or dig into the model. |
| SonicMax Slice 10 | Controlled trimming around small support marks, tight corners, and delicate edges. | Should be used with light passes and tested on scrap material first. |
| Sanding sticks or fine files | Smoothing remaining support marks and preparing the surface for primer. | Can flatten small details if used too aggressively. |
| Side lighting or inspection lamp | Finding remaining marks, ridges, and uneven surfaces. | Marks may look invisible under flat overhead light but show up after painting. |
Step 1: Let the Print Cool and Inspect the Contact Points
Before removing supports, let the print cool completely. Warm prints can be slightly softer, especially with common materials such as PLA, which makes marks and deformation more likely.
Look closely at where the supports touch the model. These contact points are the areas that matter most. Large support trees can usually be removed first, but small points near corners, curves, holes, overhangs, and decorative details need more control.
If the model is fragile, support the printed part with your hand or place it on a stable surface before cutting. Thin walls, antenna-like features, miniature details, and model kit-style parts are especially easy to damage if the part flexes while you cut.
Step 2: Remove Large Support Branches First
For larger support structures, start with flush cutters or side cutters. Cut away the outer branches first instead of trying to remove the entire support at once.
Avoid twisting the support off the part. Twisting can transfer force into the model and may break thin features or leave stress marks. Work from the outside inward until only the smaller contact points remain.
This step is about reducing bulk, not making the surface perfect. If you try to finish the surface while the support structure is still attached, you may put too much force into the model.
Step 3: Trim the Small Contact Points Carefully
Once the large supports are gone, focus on the small marks left on the model. This is where a regular hobby knife can work, but it also requires a steady hand. Too much pressure can slip, dig into the surface, or cut deeper than intended.
An ultrasonic cutter can help in certain cleanup situations because the high-frequency blade movement reduces the need to push as hard on suitable materials. SonicMax Slice 10 is designed for makers who need more control around small trimming tasks, edge cleanup, and post-processing details.
It should not be treated as a magic one-tool replacement for every cleanup method. It works best as one tool in a careful workflow.
Step 4: Use Light Passes Instead of Force
Whether you use a hobby knife, precision cutter, or ultrasonic cutter, the safest approach is to use light, controlled passes.
Do not try to remove a thick support mark in one cut. Shave it down gradually. This gives you more control and reduces the chance of cutting into the model surface.
For detailed parts, it can help to leave a tiny amount of material and finish with sanding or a fine file instead of cutting completely flush in one pass. It is easier to remove a small raised mark later than to repair a deep cut.
Step 5: Sand and Finish the Surface
After trimming, use sanding sticks, fine sandpaper, or small files to smooth the remaining marks. Start with a gentle grit and move gradually if needed.
For visible surfaces, check the model under good lighting. Support marks are often easier to see when the light comes from the side.
If you plan to paint the model, a smooth support cleanup step can make primer and paint look much better later. Primer can hide tiny scratches, but it will not hide large gouges, torn corners, or uneven support scars.
How Support Removal Changes by Material
Different 3D printing materials behave differently during post-processing. The same support strategy may feel clean on one material and messy on another.
PLA
PLA is often one of the easier materials to trim, but it can still show white stress marks if supports are twisted off. Let the part cool, remove bulk supports first, then clean small contact points with light passes. If the part has small cosmetic details, avoid rushing the final trimming step.
PETG
PETG can be tougher and more flexible-feeling than PLA, which means supports may resist snapping away cleanly. It can also leave stringier or rougher marks depending on print settings. For PETG cleanup, avoid forcing the cut. Reduce the support mark slowly, then finish with sanding or filing if the surface is visible.
Resin Prints
Resin prints can hold fine detail, but thin features may be brittle depending on the resin, curing, and model design. Support marks on resin miniatures and detailed models should be handled carefully. Use eye protection, avoid breathing dust when sanding, and follow resin safety guidance for uncured or partially cured parts.
Miniatures and Decorative Models
Miniatures, props, and decorative models often have visible surfaces where support marks matter more. In these cases, take extra time to inspect the model before cutting. It is usually better to trim conservatively and finish the surface gradually than to cut too close and damage a visible detail.
Where SonicMax Slice 10 Fits In
SonicMax Slice 10 is built for maker post-processing workflows such as 3D print cleanup, support trimming, model edge refining, and craft cutting. In support removal, it is most useful when you need more control than heavy cutters can provide and less pushing force than a standard knife may require.
Good use cases include:
- Small support contact points
- Tight corners
- Model edges
- Delicate trimming
- Light cleanup passes
- Areas where too much hand pressure feels risky
It is still important to test on scrap material first, keep the part stable, and follow the official product guidance for supported materials and safe use.
When Not to Use a Precision Cutter First
A precision cutter should not be the first tool for every support structure. If a support tower is large, thick, or easy to reach, remove the bulk with cutters first. If the print is extremely fragile, stabilize it before touching the contact points. If the material behavior is unknown, test on a failed print or hidden area first.
Do not use any cutting tool on unsafe, electrically active, chemically hazardous, or unknown materials. If a part contains embedded electronics, batteries, liquids, uncured resin, or metal hardware, treat it as a separate safety problem before cutting.
Common Mistakes to Avoid
- Twisting supports away from the model when they resist.
- Trying to remove a thick mark in one aggressive cut.
- Cutting too close before understanding where the model surface starts.
- Sanding too early and flattening small details.
- Using the same pressure on PLA, PETG, and resin prints.
- Skipping test cuts on scrap material.
- Assuming one tool should replace the whole post-processing workflow.
Quick Checklist Before You Start
- Let the print cool completely.
- Identify which surfaces will be visible after finishing.
- Remove large support branches before small contact points.
- Keep the model stable while cutting.
- Use light passes instead of force.
- Leave a tiny raised mark if sanding will produce a cleaner result.
- Inspect the surface under side lighting before painting or assembly.
FAQ
What is the best tool for removing 3D print supports?
There is no single best tool for every support mark. Flush cutters work well for larger support branches, hobby knives can help with basic trimming, sanding tools are useful for smoothing, and an ultrasonic cutter can help with controlled cuts in tight or delicate areas. The best workflow depends on the material, print settings, support structure, and model geometry.
Can an ultrasonic cutter help with 3D print cleanup?
Yes, an ultrasonic cutter can help with certain 3D print cleanup tasks, especially when the user needs controlled trimming around small details or support contact points. SonicMax Slice 10 is designed as a precision post-processing tool for makers, but it should be used with light passes and tested on scrap material first.
Should I remove supports before or after the print cools?
In most cases, it is safer to let the print cool before removing supports. A cooled print is usually more stable and less likely to deform. This is especially important for small details, thin walls, and visible surfaces.
Can Slice 10 replace flush cutters or sanding tools?
No. Slice 10 should be viewed as a complementary precision tool, not a full replacement for flush cutters, hobby knives, files, or sanding tools. Clean support removal usually works best when each tool is used for the part of the job it handles well.
Is support removal different for PLA, PETG, and resin prints?
Yes. PLA is often easier to trim, PETG can be tougher and stringier, and resin prints can be more delicate depending on curing and model design. Final results depend on material type, support settings, part geometry, and tool control. Always test carefully before working on an important model.
How do I avoid white stress marks when removing supports?
White stress marks often come from bending, twisting, or pulling support material away from the printed part. Cut supports in smaller sections, keep the part stable, and avoid using the support structure as a lever. If a mark remains, light sanding, filler primer, or paint may help depending on the surface.
Should I change support settings before printing?
Support settings can make cleanup easier. Interface layers, support distance, orientation, and support density all affect how cleanly supports come off. If support marks are a repeated problem, adjust the slicer settings and test on a smaller part before printing a large model.
Is an ultrasonic cutter useful for miniatures?
It can be useful for certain miniature cleanup tasks, especially around small support marks or tight areas. However, miniatures often have very thin details, so the safest approach is to test first, use light passes, and avoid forcing the blade into fragile parts.
What should I do if support marks are on a visible surface?
Trim conservatively, leave a small amount of material if needed, and finish with sanding or a fine file. For painted models, check the area with primer before final paint. A careful finishing step usually produces a cleaner result than trying to cut perfectly flush in one pass.
For a material-by-material breakdown, see our guide to using an ultrasonic cutter on PLA, PETG, resin supports, EVA foam, and other maker materials.
Conclusion
Clean 3D print support removal is about control, patience, and using the right tool at the right stage. Remove large support structures first, trim contact points slowly, use light passes, and finish the surface carefully.
For makers who often work with small support marks, tight corners, and detailed post-processing, SonicMax Slice 10 can be a useful precision tool on the workbench. It is designed to support careful cleanup workflows, especially when controlled trimming matters more than force.
Learn more about SonicMax Slice 10 and follow the launch updates.
Share:
SonicMax Slice 10 Targets the Biggest Problem in Cordless Ultrasonic Cutting: Heat
Ultrasonic Cutter vs Hobby Knife for 3D Print Cleanup