

Short Answer
A hobby knife is usually the simplest choice for light scraping, shallow trimming, and occasional cleanup on easy-to-reach surfaces. An ultrasonic cutter can be useful when a maker needs controlled cutting in tighter spaces, through stubborn support connections, or around complex model geometry.
Neither tool replaces the other in every situation. For many 3D printing workflows, the most practical setup is to use flush cutters for bulk removal, a hobby knife for light finishing, and an ultrasonic cutter for selected cuts where access or pressure is the main challenge.
Why Tool Choice Matters in 3D Print Cleanup
Support removal is rarely one clean step. A printed part may have thick support trunks, small contact points, narrow gaps, curved surfaces, and visible edges that all need different treatment.
Using too much force can snap a thin feature or pull material away from the model. Cutting at the wrong angle can leave a gouge that becomes more visible after sanding, priming, or painting. The best tool is therefore not always the fastest one. It is the tool that gives you enough access and control for the specific cut in front of you.
If you are building a complete workflow, start with our guide on how to remove 3D print supports cleanly.
What Is a Hobby Knife Best For?
A hobby knife is a compact hand tool with a replaceable blade. It is inexpensive, widely available, and familiar to model builders, crafters, and 3D printing users.
It works well for:
- Shaving small bumps from accessible surfaces
- Trimming thin support residue
- Cleaning seams and straight edges
- Scoring material before a controlled snap
- Making light finishing cuts after bulk supports are removed
The main limitation is that all cutting force comes from the user. When a support is thick or the cutting angle is awkward, it is easy to push harder than intended. A hobby knife also needs enough room for the blade and hand to approach the surface safely.
What Is an Ultrasonic Cutter Best For?
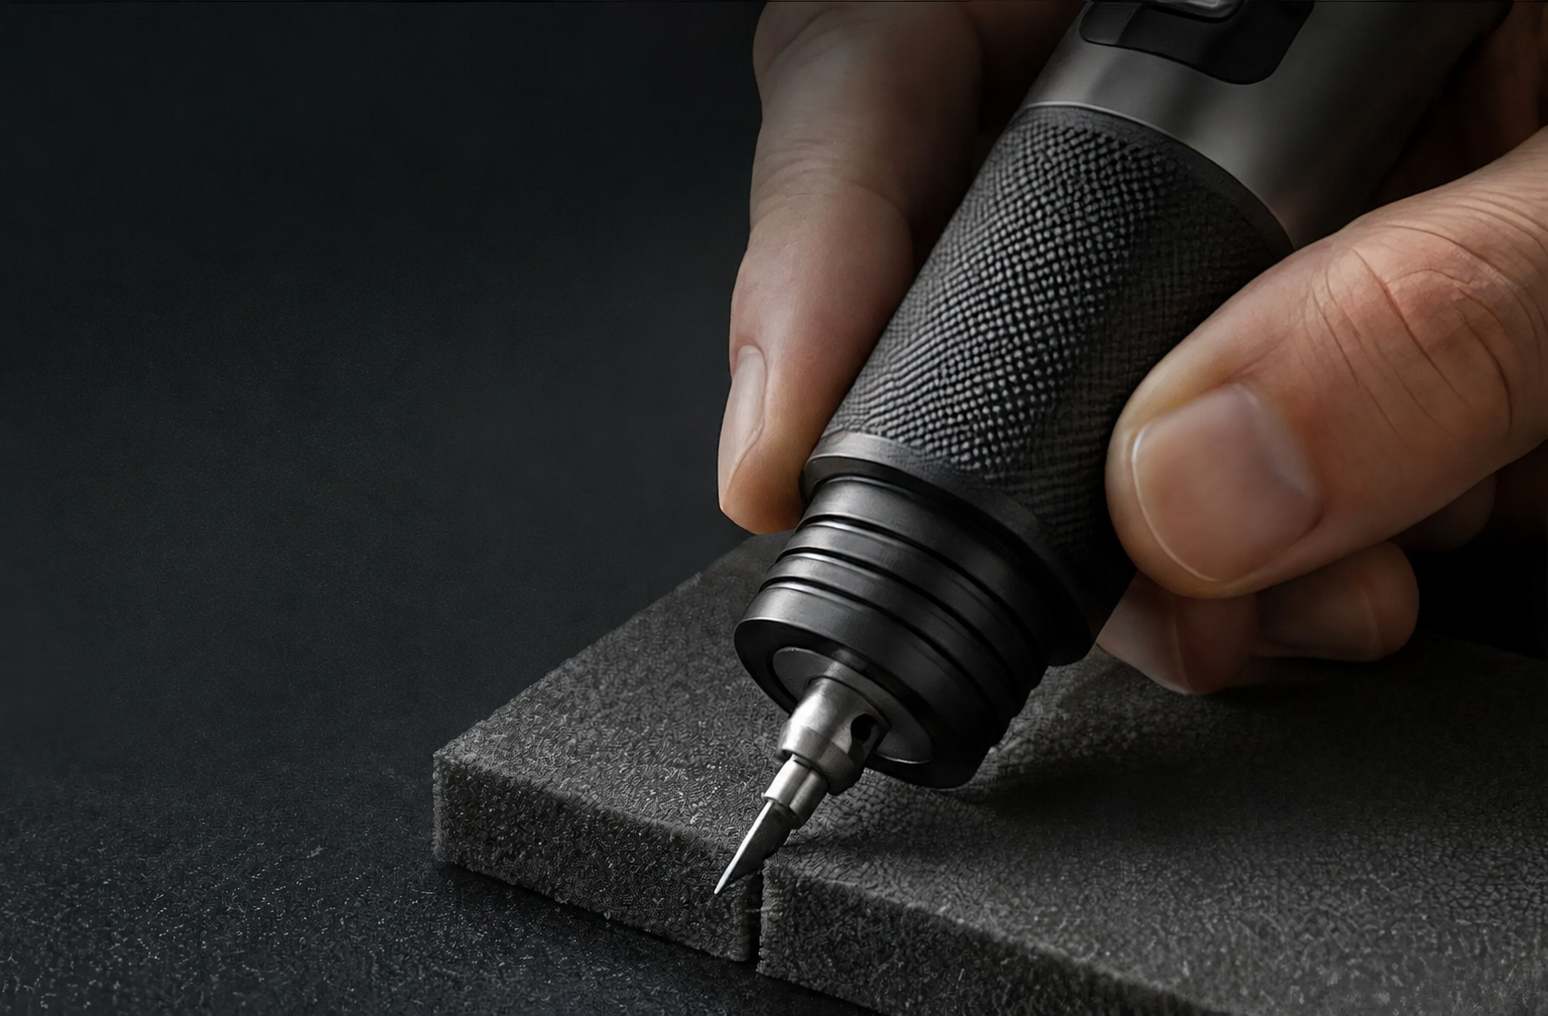
An ultrasonic cutter uses high-frequency blade movement to assist the cutting action. Instead of depending only on a continuous hand push, the moving blade can help work through material with a more controlled feed.
It can be useful for:
- Cutting selected support connections in narrow areas
- Trimming around detailed model geometry
- Working where heavy squeezing from flush cutters may stress the part
- Removing material in short, deliberate passes
- Handling repeated post-processing tasks at a maker workbench
An ultrasonic cutter is still a cutting tool, not an automatic solution. Blade angle, material behavior, part stability, and operator control all matter. Users should test on scrap or hidden areas first and follow the tool's safety instructions.
Ultrasonic Cutter vs Hobby Knife: Quick Comparison
| Factor | Hobby Knife | Ultrasonic Cutter |
|---|---|---|
| Initial cost | Lower | Higher |
| Setup | Immediate | Requires power and tool setup |
| Best use | Light trimming and surface finishing | Selected cuts, tight access, repeated cleanup |
| Cutting action | Manual pressure | Vibration-assisted blade movement |
| Access | Good with the right blade angle | Useful when controlled short cuts are needed |
| Learning curve | Familiar but still requires care | Requires practice with power and feed rate |
| Portability | Very high | Depends on the cutter; cordless designs improve mobility |
| Replacement parts | Blades | Blades and product-specific components |
Which Tool Should You Use for Support Removal?
Use a hobby knife when:
- The remaining support marks are small and easy to reach
- You are scraping or shaving rather than cutting a thick connection
- The surface is stable and you can keep your hand behind the blade path
- You only do occasional cleanup and want a simple, low-cost tool
Consider an ultrasonic cutter when:
- The support connection is difficult to reach with flush cutters
- Pushing a standard blade would place too much stress on a thin feature
- The model has complex curves, recesses, or internal geometry
- You regularly clean detailed prints, model kits, or maker projects
Use another tool when needed:
Flush cutters are often better for exposed support branches. Sanding sticks, files, and deburring tools are better for smoothing marks after cutting. No single blade should be expected to complete every stage of post-processing.
A Practical Combined Workflow
1. Inspect the part before cutting
Identify support trunks, contact points, thin model features, and surfaces that will remain visible. Decide which areas can handle squeezing and which need a lighter approach.
2. Remove bulk supports first
Use flush cutters or controlled hand removal for large, accessible branches. Do not twist aggressively near fragile details.
3. Choose the tool by connection type
Use a hobby knife for light shaving on open surfaces. Use an ultrasonic cutter selectively where a stubborn connection, narrow gap, or awkward angle makes manual pushing less controlled.
4. Make short cuts
Support the model, keep the cutting path away from your hands, and remove material in small steps. Trying to finish everything in one pass increases the chance of slipping or damaging the print.
5. Finish the surface
Use a file, sanding stick, or fine abrasive to blend the remaining mark. If the part will be painted, inspect it under side lighting before applying primer.
Where SonicMax Slice 10 Fits
SonicMax Slice 10 is being developed as a wireless ultrasonic cutter for makers, model builders, crafters, and 3D printing users. Its role in a 3D print cleanup workflow is not to eliminate every other hand tool. It is intended to add another option for controlled cutting, especially when users are working around detailed geometry or want cordless movement at the bench.
The most useful tool kit is usually a combination: flush cutters for bulk removal, abrasives for finishing, and the right blade tool for each connection.
Common Mistakes to Avoid
- Using a blade to pry instead of cut
- Holding the model directly in the blade path
- Starting on the most visible surface before testing the material
- Applying more force when a better angle or different tool would help
- Skipping sanding and expecting the cutting step to create a finished surface
- Assuming every filament, resin, or support profile behaves the same way
Frequently Asked Questions
Is an ultrasonic cutter better than a hobby knife for 3D prints?
It depends on the task. A hobby knife is excellent for simple, light finishing. An ultrasonic cutter may be more useful for selected support connections, repeated cleanup, or areas where access and manual pressure are difficult. Many makers benefit from owning both.
Can an ultrasonic cutter replace flush cutters?
Not completely. Flush cutters are fast and effective for exposed support branches. An ultrasonic cutter is better treated as a complementary tool for cuts where squeezing, access, or geometry makes another method preferable.
Can I use a hobby knife for all support removal?
You can use one for many finishing tasks, but thick supports and awkward angles may require excessive pressure. Switching tools is often safer for the model and more efficient for the user.
How do I avoid marks when removing supports?
Leave a small amount of material during the first cut, then trim and sand gradually. Support the part close to the cutting area, use short controlled movements, and test your method on a hidden section first.
Do ultrasonic cutters require safety precautions?
Yes. They use a powered sharp blade and should be handled according to the manufacturer's instructions. Keep hands out of the cutting path, stabilize the workpiece, use appropriate eye protection, and turn the tool off before changing or inspecting the blade.
For a material-by-material breakdown, see our guide to using an ultrasonic cutter on PLA, PETG, resin supports, EVA foam, and other maker materials.
Conclusion
The choice between an ultrasonic cutter and a hobby knife is not a simple winner-takes-all comparison. A hobby knife remains one of the most useful low-cost tools for light trimming and surface cleanup. An ultrasonic cutter adds a different cutting action that can help with selected support connections, tight access, and detailed maker work.
Choose the tool based on the connection, the geometry, and the amount of control you need. Learn more about SonicMax Slice 10 and follow the latest development and launch updates.
Share:
How Do You Remove 3D Print Supports Cleanly?