

Short Answer
The best post-processing toolkit is not one expensive machine. It is a small group of tools that handle different stages of cleanup: flush cutters for removing exposed supports, a hobby knife for light trimming, files and sanding tools for smoothing, tweezers for loose fragments, and a precision cutter for selected cuts where access or cutting pressure is a problem.
For 3D prints and model kits, a practical starter setup is usually flush cutters, a sharp hobby knife, sanding sticks in several grits, small files, tweezers, eye protection, and a stable work surface. Makers who regularly clean detailed prints, foam, plastic sheet, or model parts may also benefit from a rotary tool, heat tool, or ultrasonic cutter, but each should be used for the job it handles best.
Why Post-Processing Needs More Than One Tool
A printed or molded part rarely comes off the machine ready for paint or assembly. FDM prints may have support branches, brims, strings, seams, and visible layer lines. Resin prints can have dense support contact points and fragile details. Model kits may leave gates, mold lines, or tight connections on a sprue. Foam and craft materials may need edge cleanup after shaping.
These problems look similar, but they do not respond to the same action. A thick exposed support can be clipped. A small bump needs shaving or sanding. A recessed connection may require a narrow blade. A visible surface should be refined gradually rather than attacked with more force.
The goal is therefore to build a workflow, not search for one universal tool. If support removal is your main challenge, start with our guide on how to remove 3D print supports cleanly.
Post-Processing Tool Comparison
| Tool | Best For | Main Risk | Beginner Priority |
|---|---|---|---|
| Flush cutters | Exposed supports, sprue gates, bulk removal | Twisting or crushing thin features | Essential |
| Hobby knife | Light shaving, seams, accessible edges | Slipping, gouging, excessive hand pressure | Essential |
| Sanding sticks and paper | Flattening marks and refining visible surfaces | Rounding details or leaving deep scratches | Essential |
| Needle files | Slots, holes, corners, and controlled shaping | Removing too much material | High |
| Tweezers and pliers | Loose fragments, strings, and small parts | Pulling instead of cutting attached material | High |
| Deburring tool | Open holes and accessible curved edges | Catching thin walls or cutting an uneven chamfer | Optional |
| Rotary tool | Fast shaping, sanding, and larger corrections | Heat, melting, dust, and loss of control | Optional |
| Ultrasonic cutter | Selected cuts, tight access, repeated precision cleanup | Material damage, heat buildup, and blade contact | Workflow upgrade |
1. Flush Cutters for Bulk Support Removal
Flush cutters are often the first tool to touch an FDM print or model sprue. Their flat side can sit close to the part while the angled side faces the waste material. They work well on exposed support branches, brims, and plastic gates that can be reached without squeezing the finished surface.
Do not twist a support away after clipping only one side. Support the part with your other hand, cut in stages, and leave a small amount for later sanding when the connection is close to a visible surface. A slightly raised mark is easier to refine than a missing piece of the model.
2. Hobby Knives for Light Trimming
A sharp hobby knife is useful for shaving small nubs, scraping seams, trimming thin residue, and scoring accessible material. It is affordable and precise, but all cutting force comes from the user. That makes blade direction and hand position especially important.
Use short, controlled passes instead of trying to remove everything at once. Keep fingers out of the blade path, secure the workpiece, and replace dull blades. A dull blade often feels safer because it is less sharp, but it encourages more pressure and can slip unpredictably.
For a closer comparison, see ultrasonic cutter vs hobby knife for 3D print cleanup.
3. Sanding Tools for Surface Refinement
Sanding is the stage that turns a cut surface into a finishable surface. Sanding sticks are convenient for flat edges and small model parts. Flexible sanding sponges follow curves. Wet-or-dry paper can help control dust and reduce clogging when the material and finishing process allow it.
Start with the least aggressive grit that can remove the defect in a reasonable time. Then move through finer grits rather than jumping directly from a deep scratch to polishing. On detailed prints, mask or avoid raised features so they do not become soft and rounded.
For painted models, the final goal is not always a glossy surface. A consistent surface that accepts primer evenly is often more useful than one highly polished patch surrounded by visible layer lines.
4. Needle Files for Corners and Openings
Small files give better shape control than folded sandpaper in holes, slots, channels, and internal corners. Flat, round, half-round, and triangular profiles each solve different geometry problems.
File in controlled strokes and check fit frequently. This matters when cleaning assembly tabs, magnet holes, pin joints, and model-kit connections. Removing a fraction too much can turn a snug fit into a loose one.
5. Tweezers and Small Pliers for Loose Material
Tweezers are useful after cutting, when a support fragment is already loose but trapped in a recess. Fine pliers can hold small components during cleanup or help remove strings that are no longer attached.
They should not be used to tear away a support that still has a strong connection. Pulling transfers force into the model and can break a wall, edge, or delicate feature. Cut the connection first, then lift the waste away.
6. Deburring Tools for Open Edges
A hand deburring tool can clean accessible holes, pipe ends, and open curved edges. It is fast on simple geometry, but the hooked blade needs room to travel. It is usually not the right choice for small decorative details, thin walls, or crowded internal features.
Test the tool on scrap before using it on a finished part. Different plastics can produce very different edge behavior, even when the parts look similar.
7. Rotary Tools for Fast Shaping
A variable-speed rotary tool can remove material quickly, open a hole, blend a seam, or sand a larger support scar. It becomes valuable when hand sanding would take too long, but speed is also its main risk.
High speed can soften thermoplastics, smear an edge, throw dust, or remove detail before the user reacts. Use the lowest effective speed, light contact, suitable eye and respiratory protection, and frequent pauses. Hold the work securely without placing fingers near the rotating accessory.
8. Heat Tools for Specific Corrections
Warm water, a controlled heat source, or a craft heat gun may help with string removal, gentle reshaping, or foam forming. Heat is not a universal finishing shortcut. PLA, PETG, resin, foam, paint, and adhesives all respond differently, and a part can deform before the correction becomes visible.
Use ventilation, start conservatively, keep the heat moving, and test on scrap. Never apply uncontrolled heat to unknown materials or enclosed parts that may contain batteries, electronics, pressure, or unsafe chemicals.
9. Ultrasonic Cutters for Selected Precision Cuts
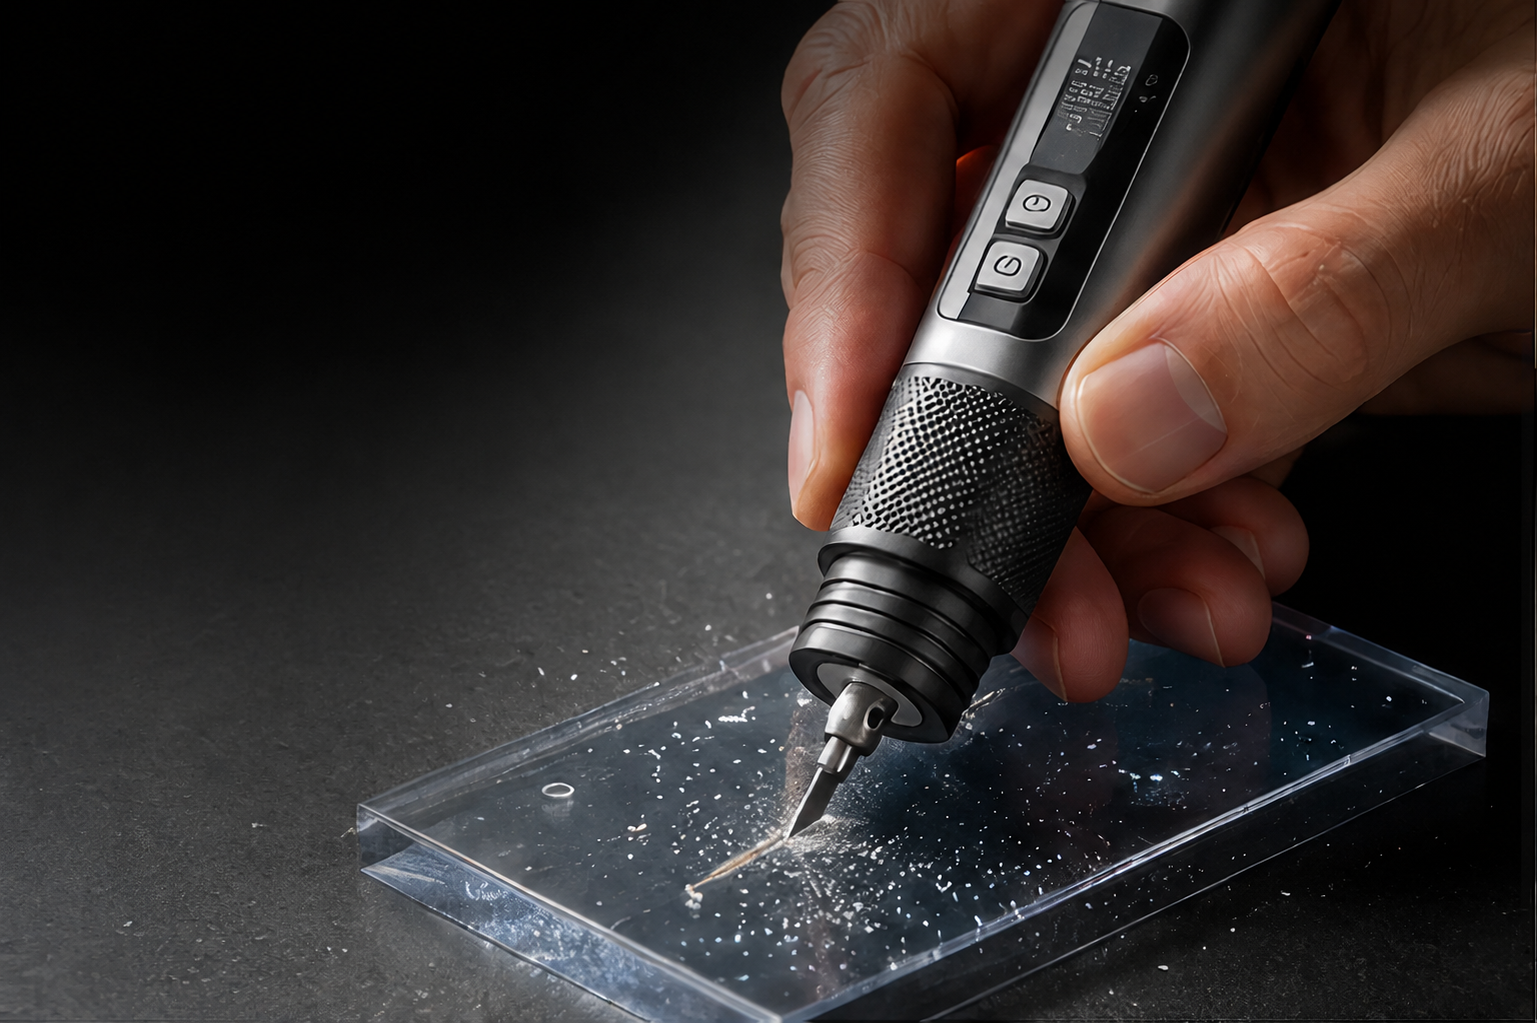
An ultrasonic cutter uses high-frequency blade movement to assist the cutting action. It can be useful when a maker needs to cut a selected connection in a narrow area, reduce the hand force applied near a fragile feature, or repeat precision trimming tasks at a workbench.
It is not a replacement for every tool in this list. Flush cutters remain faster for open support branches. Sanding tools are still needed for surface refinement. A hobby knife may be simpler for a quick shallow scrape. The value of an ultrasonic cutter appears when access, control, or repeated cutting effort becomes the bottleneck.
Material behavior still matters. PLA, PETG, resin supports, EVA foam, leather, and plastic sheet can require different blade movement, feed rate, and test procedures. Read our guide to cutting PLA, PETG, EVA foam, and resin supports before testing a new project material.
A Practical Post-Processing Workflow
- Inspect the part first. Identify visible surfaces, fragile features, hidden support connections, and areas that will be glued or painted.
- Remove large waste in stages. Use flush cutters or the appropriate bulk-removal tool without twisting the finished part.
- Cut difficult connections. Use a hobby knife or precision powered cutter only where you can see and control the blade path.
- Lift away loose fragments. Use tweezers after the connection has been cut.
- Refine the shape. Use files, sanding sticks, or a low-speed rotary tool based on the geometry.
- Inspect under strong light. Check from several angles before priming, painting, or assembly.
- Clean the workspace. Collect dust and sharp fragments, store blades safely, and keep residue away from electronics and food areas.
How to Build a Starter Toolkit
For a beginner, start with quality basics rather than buying every specialized tool at once:
- Small flush cutters
- Hobby knife with spare blades
- Sanding sticks in coarse, medium, and fine grits
- A basic set of needle files
- Fine tweezers
- Cut-resistant work surface or cutting mat
- Eye protection and appropriate dust protection
- Good task lighting
Add specialized tools after the same problem appears repeatedly. If tight support connections slow down every project, a precision cutting tool may be justified. If large surfaces take most of the time, invest in better sanding and dust control. If fitment is the problem, add files, drills, and measuring tools.
Common Post-Processing Mistakes
- Using force instead of changing tools: More pressure often means the tool is wrong for that step.
- Cutting flush too early: Leave a small amount near visible surfaces and refine it gradually.
- Working with dull blades: Dull edges require more force and reduce control.
- Skipping material tests: Similar-looking plastics may soften, crack, or mark differently.
- Using high rotary speed: Fast tools can melt thermoplastics and erase fine detail.
- Pulling attached supports: Cut the connection before using tweezers or pliers.
- Ignoring dust and fragments: Post-processing can create sharp waste and fine particles that require cleanup and protection.
Frequently Asked Questions
What is the most important tool for 3D print post-processing?
For most FDM beginners, small flush cutters are the first essential tool because they handle exposed supports and brims. A hobby knife and sanding sticks usually come next. The best first purchase depends on the defects your prints produce most often.
Do I need an ultrasonic cutter for occasional prints?
Not necessarily. Flush cutters, a hobby knife, and sanding tools can handle many occasional cleanup jobs. An ultrasonic cutter becomes more relevant when you regularly work around detailed geometry, difficult connections, or repeated precision cuts.
Can one tool remove supports and finish the surface?
Usually no. Cutting tools remove connected material, while sanding tools and files refine the remaining mark. Expecting one blade to create a paint-ready finish can lead to gouges or damaged details.
What grit should I use on a 3D print?
There is no universal grit. Start with the least aggressive grit that removes the mark, then progress through finer grits. Test first because material, print settings, surface geometry, and finishing goals all change the result.
Is a rotary tool better than hand sanding?
It is faster for larger corrections, but it also creates more heat, dust, and risk of removing detail. Hand sanding offers more feedback and is often safer for visible or delicate surfaces.
How do I clean supports near a fragile feature?
Support the model, remove surrounding waste in stages, and cut the connection with the least force possible. Avoid twisting. Leave a small mark for later refinement if cutting completely flush would put the feature at risk.
Should I wear protective equipment during post-processing?
Yes. Eye protection is important around clipped fragments and rotary tools. Dust protection and ventilation may be needed when sanding, grinding, heating, or working with resin and unknown materials. Follow the material and tool manufacturer's safety guidance.
Where does SonicMax Slice 10 fit in this workflow?
SonicMax Slice 10 is being developed as a wireless ultrasonic cutter for makers, model builders, crafters, and 3D-printing users. It is intended to add a controlled powered cutting option alongside flush cutters, hobby knives, files, and sanding tools rather than replace the entire toolkit. See the Slice 10 FAQ for current product guidance.
Conclusion
A good post-processing setup is a sequence of simple tools used at the right moment. Clip large supports, cut difficult connections, remove loose fragments, refine the shape, and inspect the result before finishing. Build the toolkit around the problems you encounter repeatedly, and test every unfamiliar tool-material combination before using it on an important part.
Learn more about SonicMax Slice 10 and follow the latest launch updates.
Share:
Can an Ultrasonic Cutter Cut PLA, PETG, EVA Foam, and Resin Supports?
How Ultrasonic Cutters Work: A Maker's Guide